
What is a Lapbook?
A lapbook (sometimes called a shutter book or folder book) is a folded file folder that is used to organize printed foldables filled with information learned during a topic study. The name “Lap Book” was first used by Tamy Duby because the whole project could fit into a child’s lap. Lapbooks are highly interactive and can be created by students at any age. You can design your own or purchase a lapbook kit. There is really no right or wrong way to lapbook; you can be as creative as you want.
Using Your Lapbook
- Decide your topic.
- Create the lapbook base.
- Use a variety of printed booklets or create your own.
- Record information learned during your study on your booklets and printables.
- Print photos and clip art from your topic to decorate your booklets and folders.
- Attach the booklets and printables to the folders using tape, glue, or staples.
- Use your lapbook to review the information you have learned or to show others what you have discovered about your topic.
Lapbook Base
- Open a file folder and lay it out flat in front of you.
- Fold each side to meet in the middle (the bottom of the folder as traditionally used).
- To create additional room in your lapbook, add an extension by taping a piece of cardstock or half of a folder to the top or bottom of your lapbook. This piece will fold in before you close the tabs.
Lapbook Content
These are just some of the possibilities for putting in your lapbook:
Vocabulary words
Graphs
Stories
Timelines
Drawings
Diagrams
Mini-books
Charts
Lists
Recipes
Journaling
Photos
Maps
Memory work
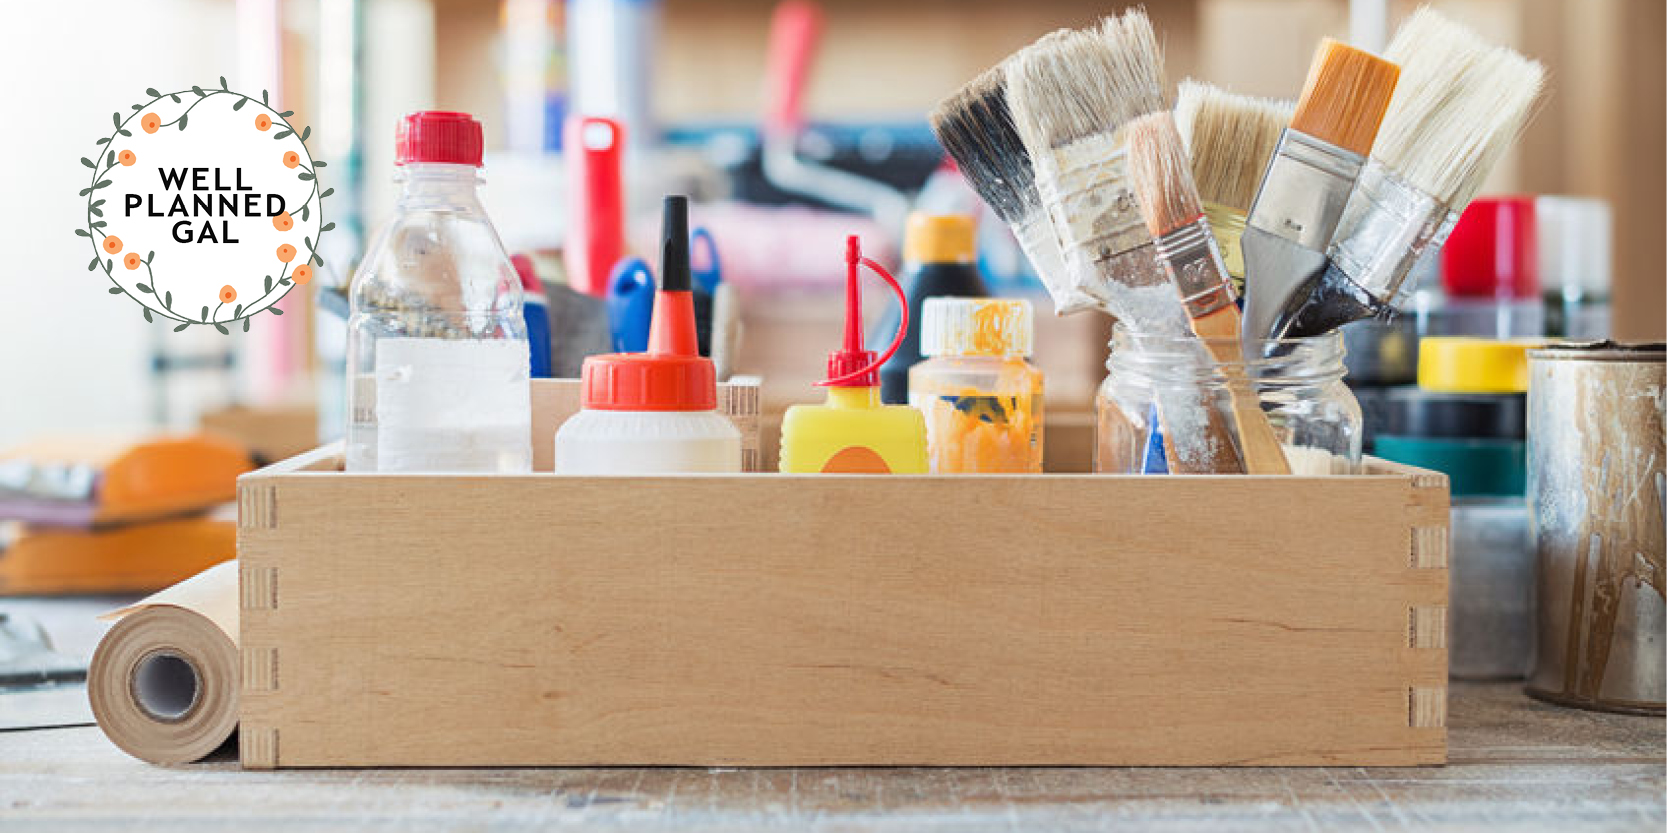
essential materials
File folders
Glue
Tape
Paper
Printer
Scissors
Pens/Pencils/Markers
Crayons
helpful materials
Stickers
Brads
Stapler
String
Art Supplies
Lapbooking Tips
1. Have your children cut out the printables and mini-book pieces ahead of time and place them in plastic baggies for safekeeping. Precut them yourself if you have young children.
2. Create all the printables and mini-books first and contain them by placing them in a baggie. It is easier to put the whole lapbook together at the end of the study, when you can lay out all of the pieces and reorganize them to make them fit better.
3. Organize your lapbooks by punching them with a three-hole punch (it works best if you do this before attaching your printables) and placing them in a three-ring binder.
4. Keep a collection of often-used basic templates on hand.
5. The important part about lapbooking is learning the information in an interactive, hands-on way. Lapbooks do not need to be perfect, and children should arrange them in a way that is meaningful to them.